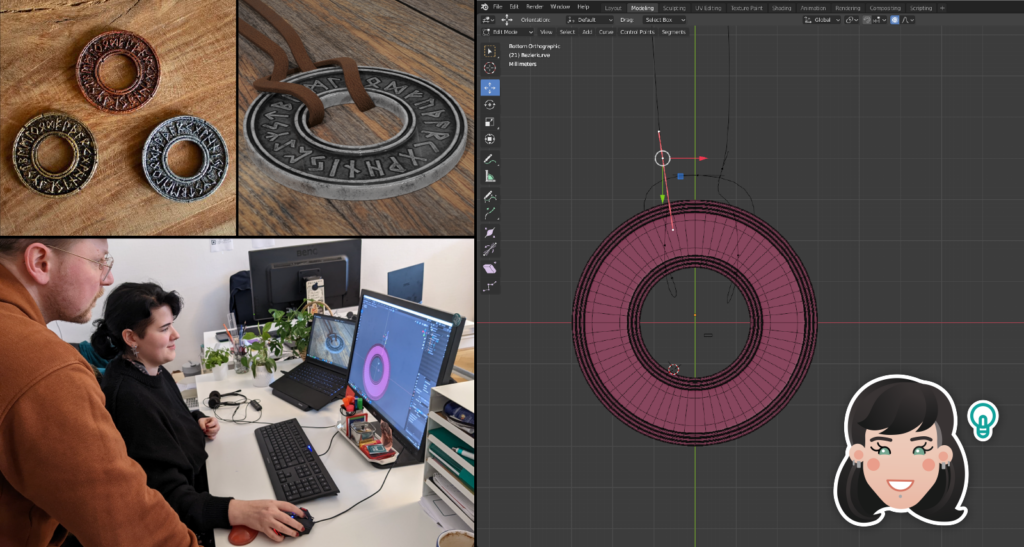
Unsere Auszubildende Michelle berichtet abseits von ihrer alltäglichen Arbeit eines Mediengestalters von ihren ersten Erfahrungen in der 3D-Modellage mit Blender.

Hi – I’m Michelle and I’m starting my third year of apprenticeship as a media designer specialising in concept development and visualisation here at LEFX.
As well as the day-to-day tasks that form part of my training, I’ve taken the opportunity to have a go at 3D modelling.
I’ve always fancied creating 3D models and finally had the time to add this skill to my portfolio. At home, I’ve already been playing around a bit with my resin printer and have gained some experience in 3D modelling in the process.
That is why I am all the more delighted to now have the opportunity to further develop my skills in this area and to gain experience across all the relevant departments involved in 3D modelling.
At LEFX, we mainly use 3D MAX. However, we’ve opted for Blender to get me started.
But why Blender, then?
High-performance
Blender is a powerful piece of software that can compete with other professional 3D modelling and animation programmes.
Versatile
Blender can be used for a wide range of projects, including film and game production, architectural visualisation, advertising and more.
User-friendly
The intuitive user interface is ideal for getting started with 3D modelling. What’s more, the website offers a wealth of tutorials and guides.
Free of charge
As it’s freeware, I can also use the tool privately for other projects.
I’m looking forward to seeing what I can achieve with Blender and what creative ideas I can bring to life.
So don’t waste any time – download the client now!
Panic first – What on earth am I going to design now?
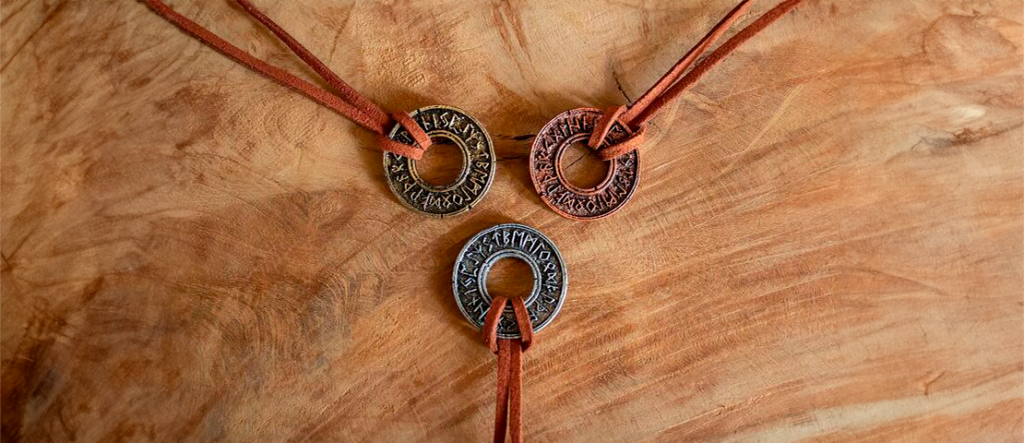
As a complete beginner, I chose a simple rune necklace as my first 3D object. I can use my photos of the object as a great reference to make it as close to the original as possible.
My coin hangs from a suede cord and is about the size of a two-euro coin. As it was important to me to recreate my object faithfully, I designed my model on a 1:1 scale.
„He who is not prepared is prepared to fail.“ – Benjamin Franklin
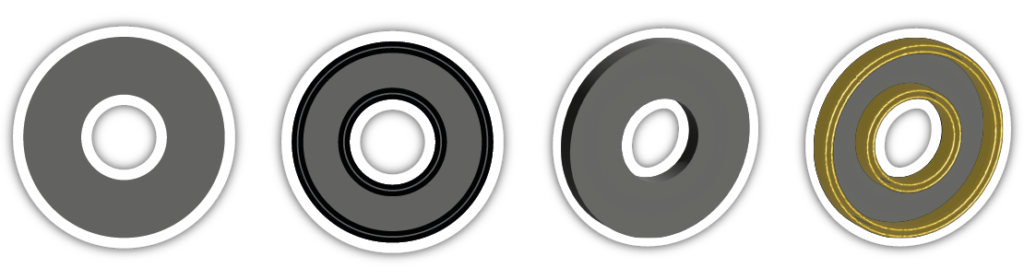
The plan behind the plan – to get an idea of how to design my coin, I created 2D sketches of my chain in Adobe Illustrator. Using the programme’s 3D feature, I was able to create a rough model to visualise the shapes and proportions before I started the actual modelling process.
„Always on the move – and today, on three!“
I place the sketch I drew earlier flat on an axis and use it as a reference whilst designing my coin. The coin itself is quite simple to model; I mainly used two functions in turn to do this.
Here goes nothing:
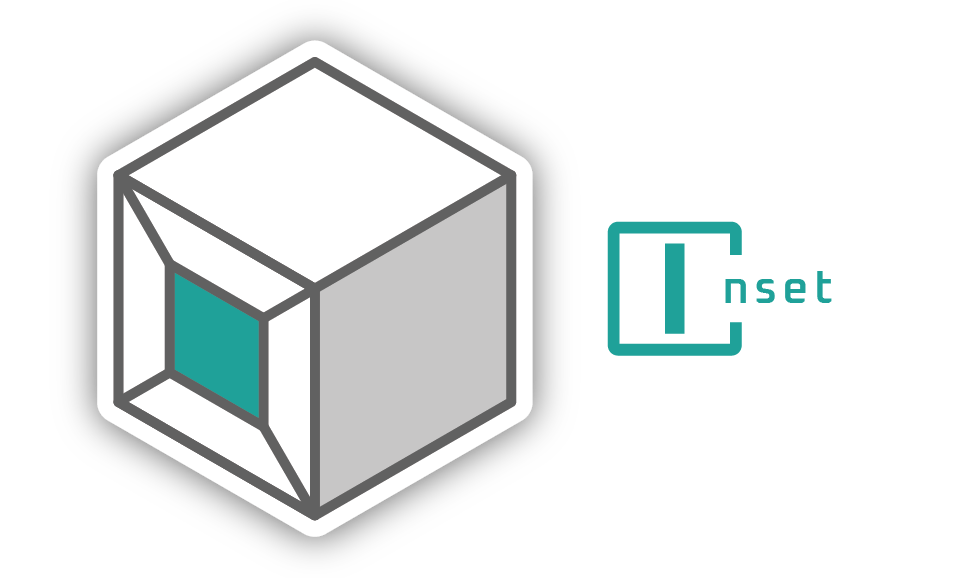
’Inset‘ function allows you to select a polygon and then create a new, inserted shape within the selected area. This enables you, for example, to insert windows into walls.
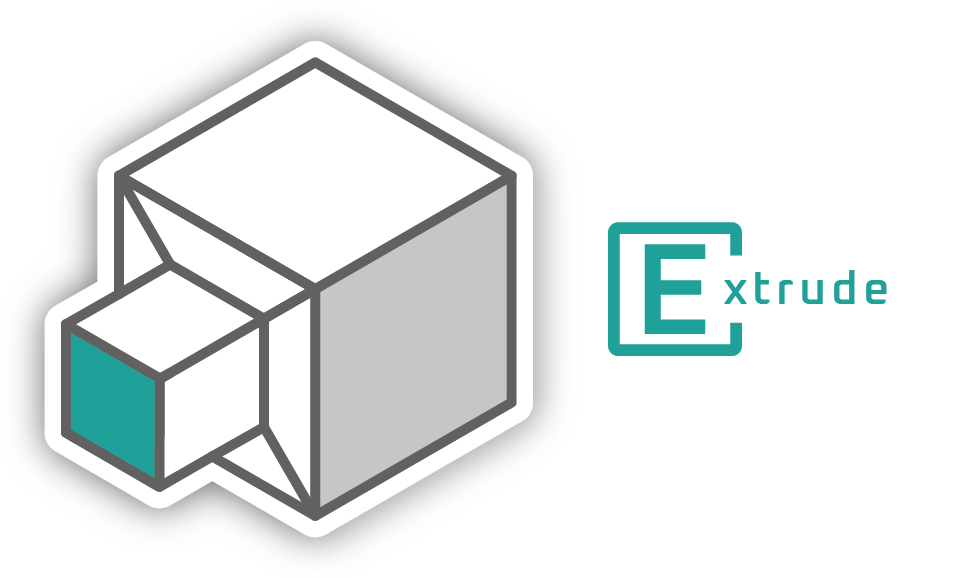
’Extrude‘ is an extremely important tool in Blender. It allows you to create additional faces, edges or vertices from an existing mesh. It’s very handy, as it enables you to build complex structures from simple shapes.
So my coin has a flat cylinder as its base, and by switching between and , I was able to deform the edges both on the inside and the outside.

Comment by Michelle of the Future
Save regularly
the programme has crashed on me several times
Create multiple versions
good for correcting unnoticed mistakes
Increase the number of undo steps
In the default settings, you can only go back 30 steps, which isn’t enough for beginners

„Bridging the education gap – Edges, Vertices, Faces?“
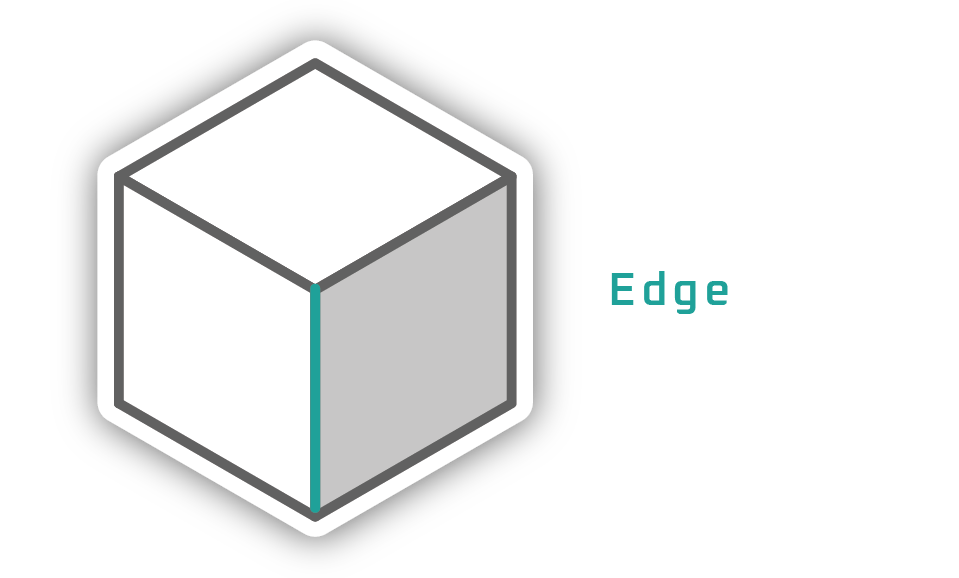
Edges <Edges>
These are the lines connecting two vertices. They are usually straight lines and define the shape of the model.

Verticies <Key points>
These are points where two or more edges meet. They are the fundamental building blocks of a 3D model and serve as the starting point for creating edges and faces.

Faces <Surfaces>
These define the areas between the edges. They form the surface of the 3D model and determine how the model appears in the 3D environment.
Have you lost the thread already?
Now we’re going to model the chain’s link.
It consists of a Bézier curve, which is defined by mathematically defined points in space. Later on, my curve will be given a shell that winds its way around the defined path. Its appearance can vary and be customised.
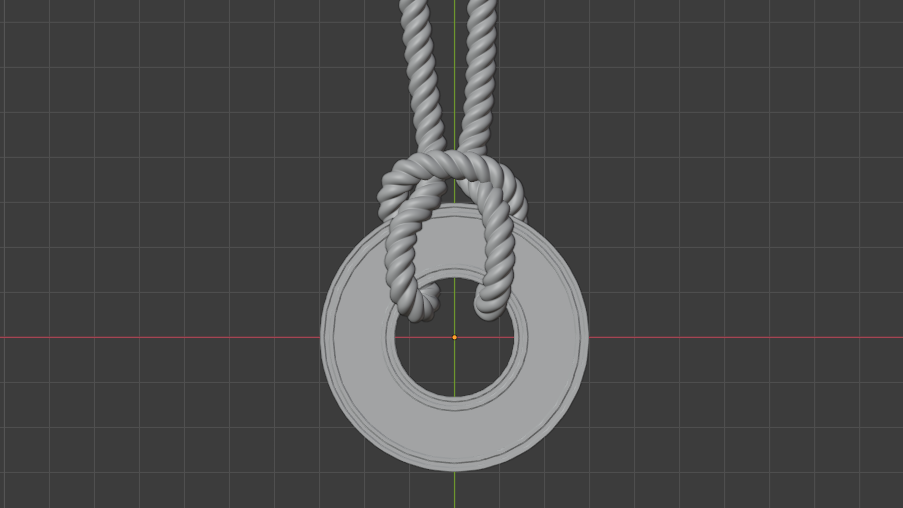
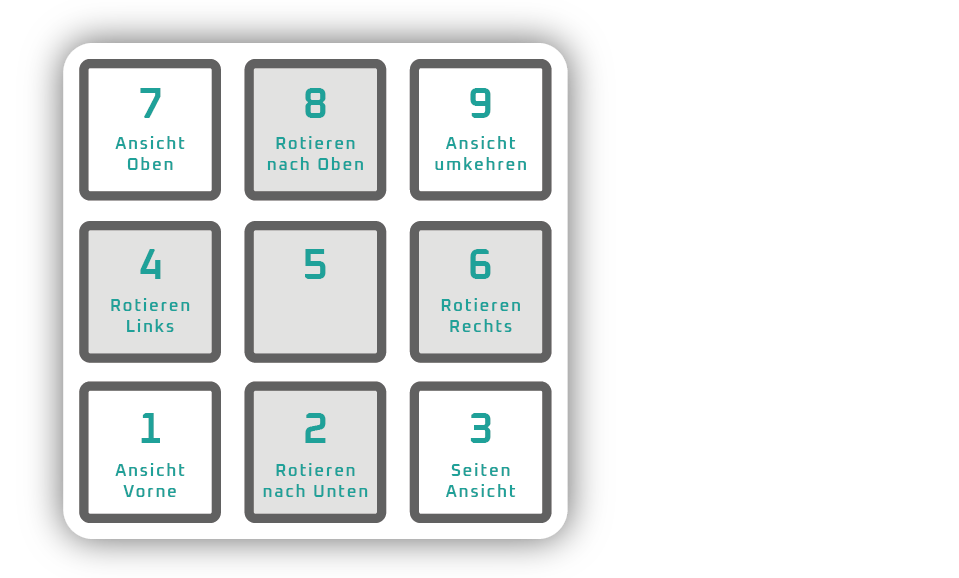
The best tip is to change your perspective regularly.
It was a bit tricky to wind the “thread” round my coin; I’m used to working with vectors, but the extra axis makes it a bit more challenging.
Always the same grey? Time for a change of scenery!
Did you know? The first 3D models ever created were produced by a computer visualisation system called Sketchpad in the 1960s.
Time to give my grey model a coat of paint: in technical terms, this is known as texturing.

If we want to texture an object, we first need to create a „UV map“ of the object.
A UV map is a flat, two-dimensional representation of the surface of a 3D model. This enables textures to be applied to the correct location on the model. To achieve this, the model’s geometry is “unpacked” or “unfolded”. This results in flat, two-dimensional pieces, much like the pattern for a garment.
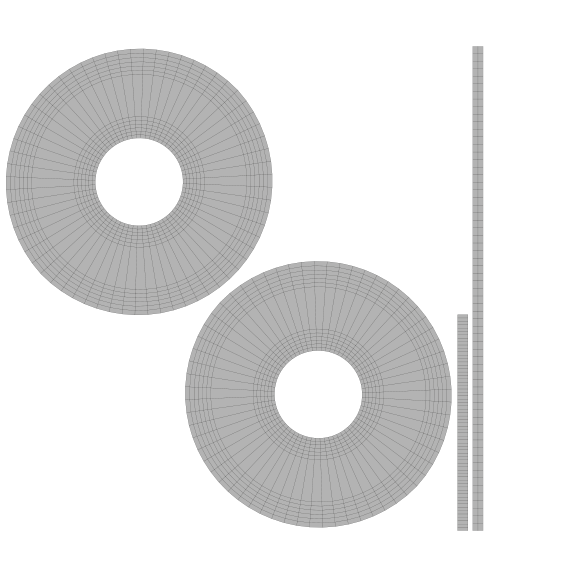
This process is called „unwrapping” and determines where the chosen material will be used. To do this, I cut my ring along the narrow edges on the inside and outside, and once vertically along the rim.
We have thus created a surface on which we can now work.
„Cause we are living in a material world“ – Madonna
To achieve the desired surface, various material attributes are required, as no texture can be applied without material parameters.
Colour
Sets the main colour of the material
Gloss
Determines how shiny the surface of the material is
Transparency
Defines how translucent the material is
Roughness
Indicates how rough or smooth the surface of the material is
Reflectivity
Determines how strongly the material reflects light
Emission
Shows how strongly the material itself emits light
So, for my coin, it makes sense for it to be slightly reflective and have a metallic sheen. These are qualities that a suede strap, on the other hand, does not possess. To define these values, you can use ‚nodes‘ or maps that convey specific values through colour tones.
In a nutshell: Nodes are circuit elements that can be linked or combined in any way. A modular system for exchanging or connecting data and settings.
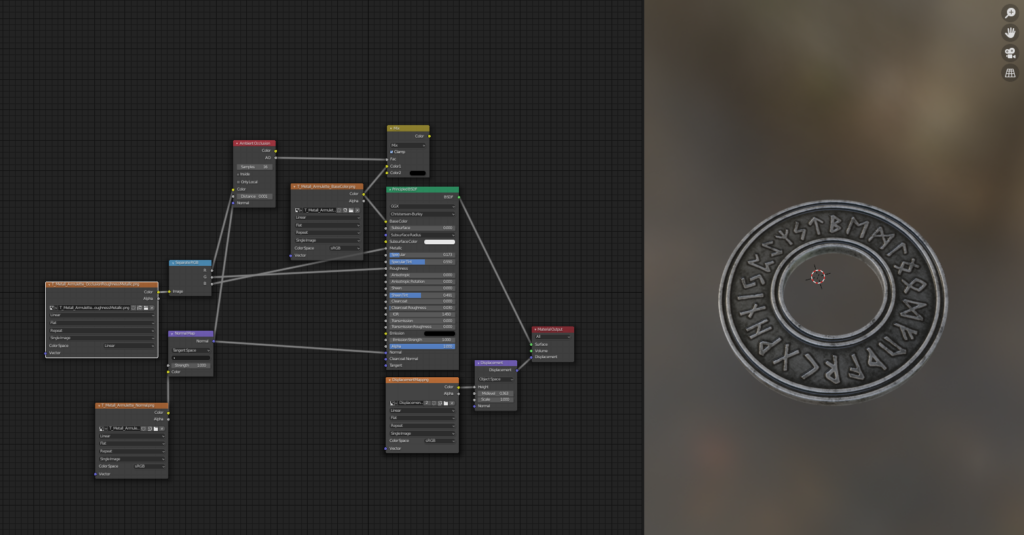
Use the map to find your way!
In addition to nodes, there are also maps: these determine which values are used at which points. In short, they assign a property to the surface. There are various types of maps, including colour, normal and bump maps.
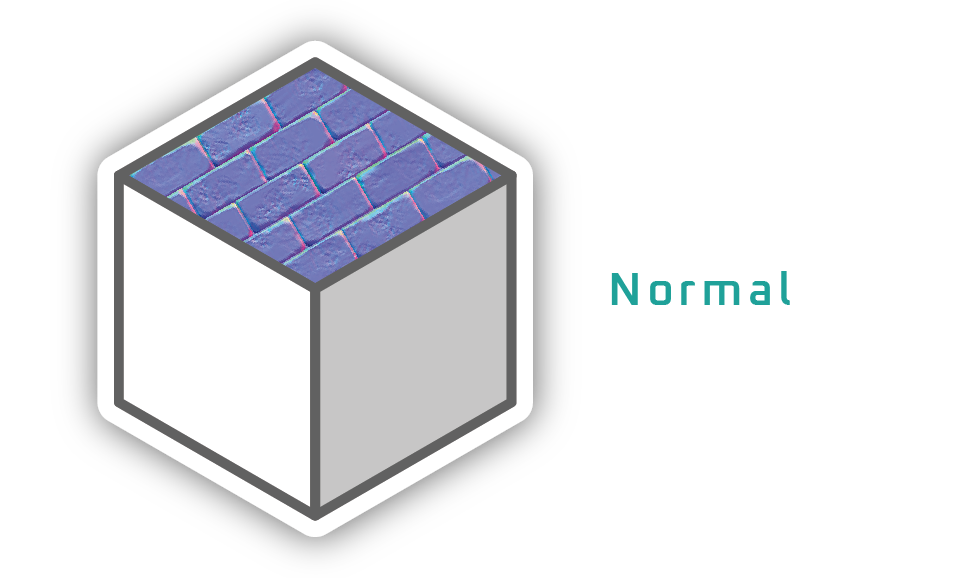
Normal map
This is a texture that is usually extracted from a higher-resolution 3D model. This enables a highly detailed representation of surface textures without increasing the actual geometry of the model.
Perhaps someone has noticed that my 3D coin does not feature any runes in its geometry. That’s not a problem, because I can use the normal map to simulate the runes, even though they don’t actually exist in the mesh. This technique not only saves time, but also conserves technical resources, which can also affect performance.
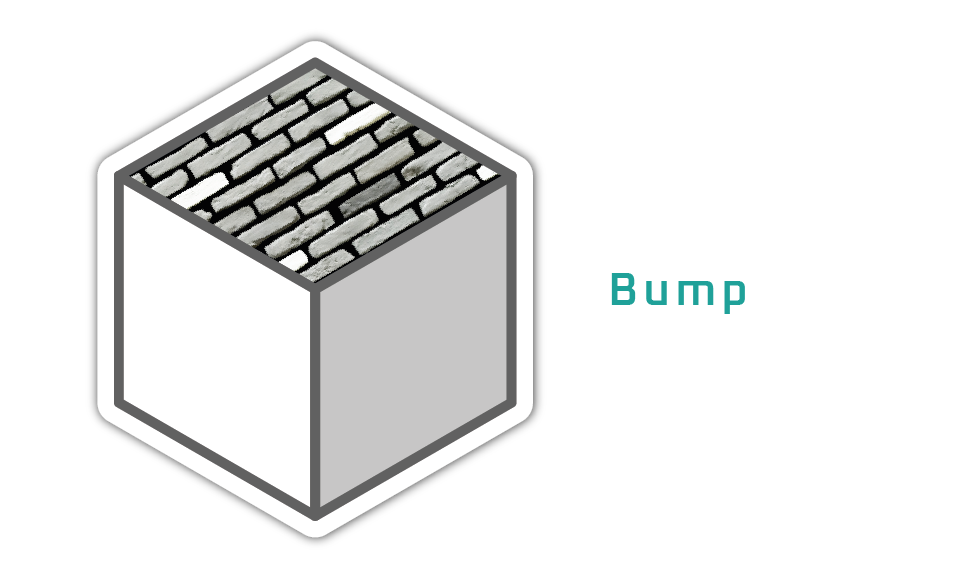
Bump map
It is similar to a normal map, but is often generated from a greyscale texture. Unlike a normal map, however, a bump map does not alter the actual geometry of the model; it merely creates an optical illusion of depth and height.
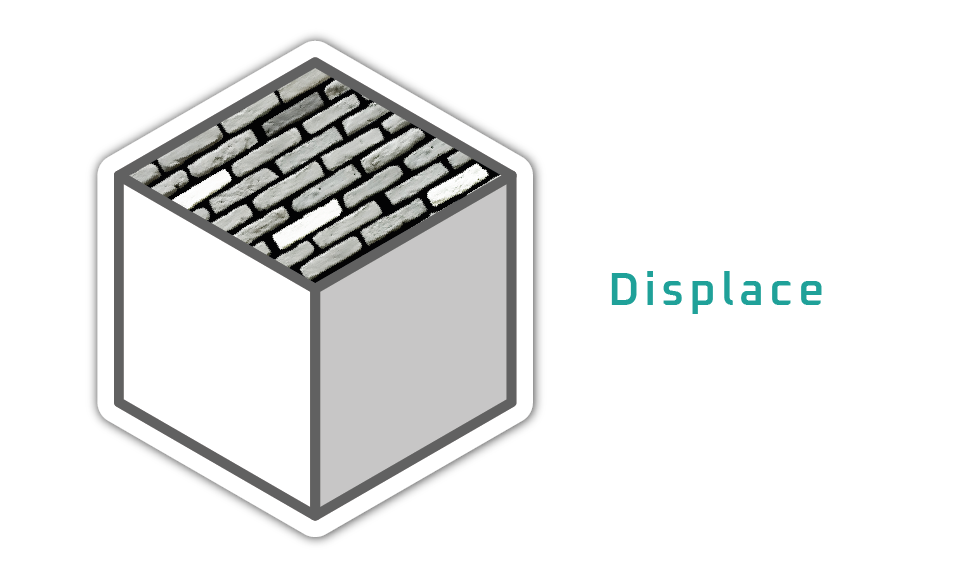
Displacement Map
This is used to add greater detail to the surface of a three-dimensional object, thereby achieving a more realistic representation.
The finish line is in sight
There are many ways to achieve a goal, and often a combination of several options yields a sound result. It is a system that requires a great deal of practice and experience.
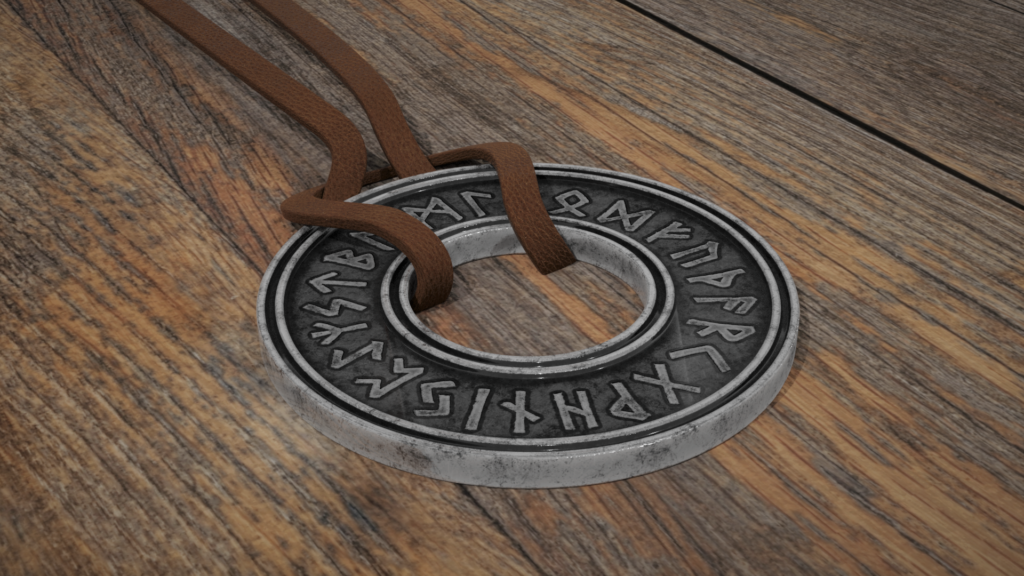
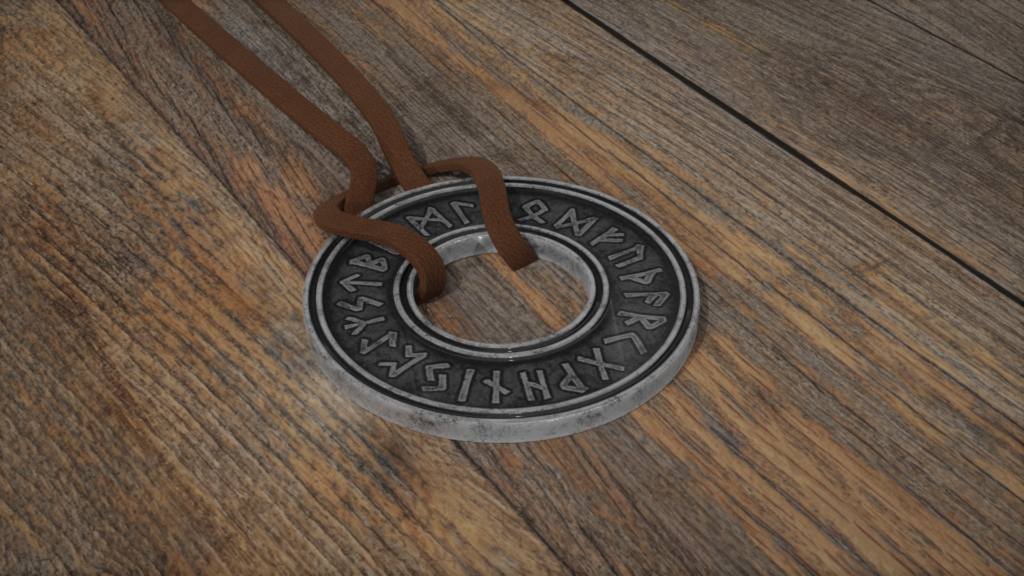
After a bit of fiddling around to work out how to use Nodes and Maps together, my coin is finally ready to be photographed. To do this, I positioned a camera in the 3D space, set some very simple exposure settings and, finally, placed my coin on a wooden floor. A few clicks later, and the first images of my coin are being rendered.
„The more we learn, the more we discover how much we do not know.“ – Master Yoda
Of course, this is just a very rough overview. The subject can quickly become incredibly complex. At times, I’ve felt overwhelmed by all the new information and impressions. Things that appear simple often involve a complex system and require a great deal of hard work – it takes a lot of effort to make them look effortless. It requires both a good understanding of form and colour and technical expertise. Perhaps a touch of a willingness to experiment now and then, too.
Working flexibly, both independently and as part of a team, was a brilliant experience; I was able to gain a lot of insights and learnt a great deal too.